 OffGridStead
Solar 101: How to Size Your Array & Battery Bank
An undersized solar array leaves you rationing power on cloudy afternoons. An oversized one bleeds money that could have gone toward water infrastructure or insulation. The difference between a system that works year-round and one that fails every December comes down to arithmetic — and knowing which numbers to trust.
This guide walks through every decision in the chain: load calculation, panel selection, battery chemistry, charge controllers, inverters, wiring, and monitoring. The math is real, the prices are 2026 retail, and the advice is drawn from systems that have been running through actual winters.
Understanding Your Energy Needs
Before you price a single panel, you need an honest accounting of what you plan to run and when. The most common mistake in off-grid solar is underestimating consumption. People forget about the well pump that kicks on eight times a day, or the router that draws 12W around the clock.
The formula for every device is the same:
Watt-hours per day = Device wattage x Hours of daily use
What makes this tricky is that many devices have variable draw. A refrigerator rated at 60W may only run its compressor 40% of the time, giving you an effective 24W average. A washing machine pulls 500W during the spin cycle but only runs for 45 minutes twice a week. You need to think in terms of average daily consumption, not nameplate wattage.
Below are three realistic load profiles. Find the one closest to your situation and adjust from there.
Scenario 1: Small Cabin (Weekend Use)
| Device | Watts | Hours/Day | Wh/Day |
|---|---|---|---|
| LED lights (4x 10W) | 40 | 4 | 160 |
| Phone charging (2x) | 30 | 3 | 90 |
| Laptop | 65 | 3 | 195 |
| 12V compressor fridge | 50 | 24 (avg ~40% duty) | 480 |
| Water pump (on-demand) | 100 | 0.5 | 50 |
| Fan (summer) | 25 | 6 | 150 |
| Total | 1,125 |
Scenario 2: Medium Cabin (Full-Time, Modest Use)
| Device | Watts | Hours/Day | Wh/Day |
|---|---|---|---|
| LED lights (8x 10W) | 80 | 5 | 400 |
| Laptop | 65 | 5 | 325 |
| Phone + tablet charging | 40 | 4 | 160 |
| 12V compressor fridge | 50 | 24 (avg ~40% duty) | 480 |
| Chest freezer (efficient) | 80 | 24 (avg ~30% duty) | 576 |
| Water pump | 100 | 1.5 | 150 |
| Wi-Fi router | 12 | 24 | 288 |
| Ceiling fans (2x) | 50 | 8 | 400 |
| Washing machine (avg/day) | 500 | 0.15 | 75 |
| Total | 2,854 |
Scenario 3: Full Homestead (Family of Four)
| Device | Watts | Hours/Day | Wh/Day |
|---|---|---|---|
| LED lights (15x 10W) | 150 | 6 | 900 |
| Laptops (2x) | 130 | 5 | 650 |
| Phone charging (4x) | 60 | 3 | 180 |
| Full-size efficient fridge | 100 | 24 (avg ~35% duty) | 840 |
| Chest freezer | 80 | 24 (avg ~30% duty) | 576 |
| Well pump (1/2 HP) | 400 | 2 | 800 |
| Wi-Fi router + mesh | 20 | 24 | 480 |
| Washing machine (avg/day) | 500 | 0.3 | 150 |
| Ceiling fans (3x) | 75 | 8 | 600 |
| TV/entertainment | 100 | 3 | 300 |
| Misc (tools, charging) | 200 | 1 | 200 |
| Total | 5,676 |
💡 Pro Tip
Measure before you buy. A $20 Kill-A-Watt meter on each appliance for one week will give you real data that is worth more than any spreadsheet estimate. For 12V DC loads, use a DC clamp meter.

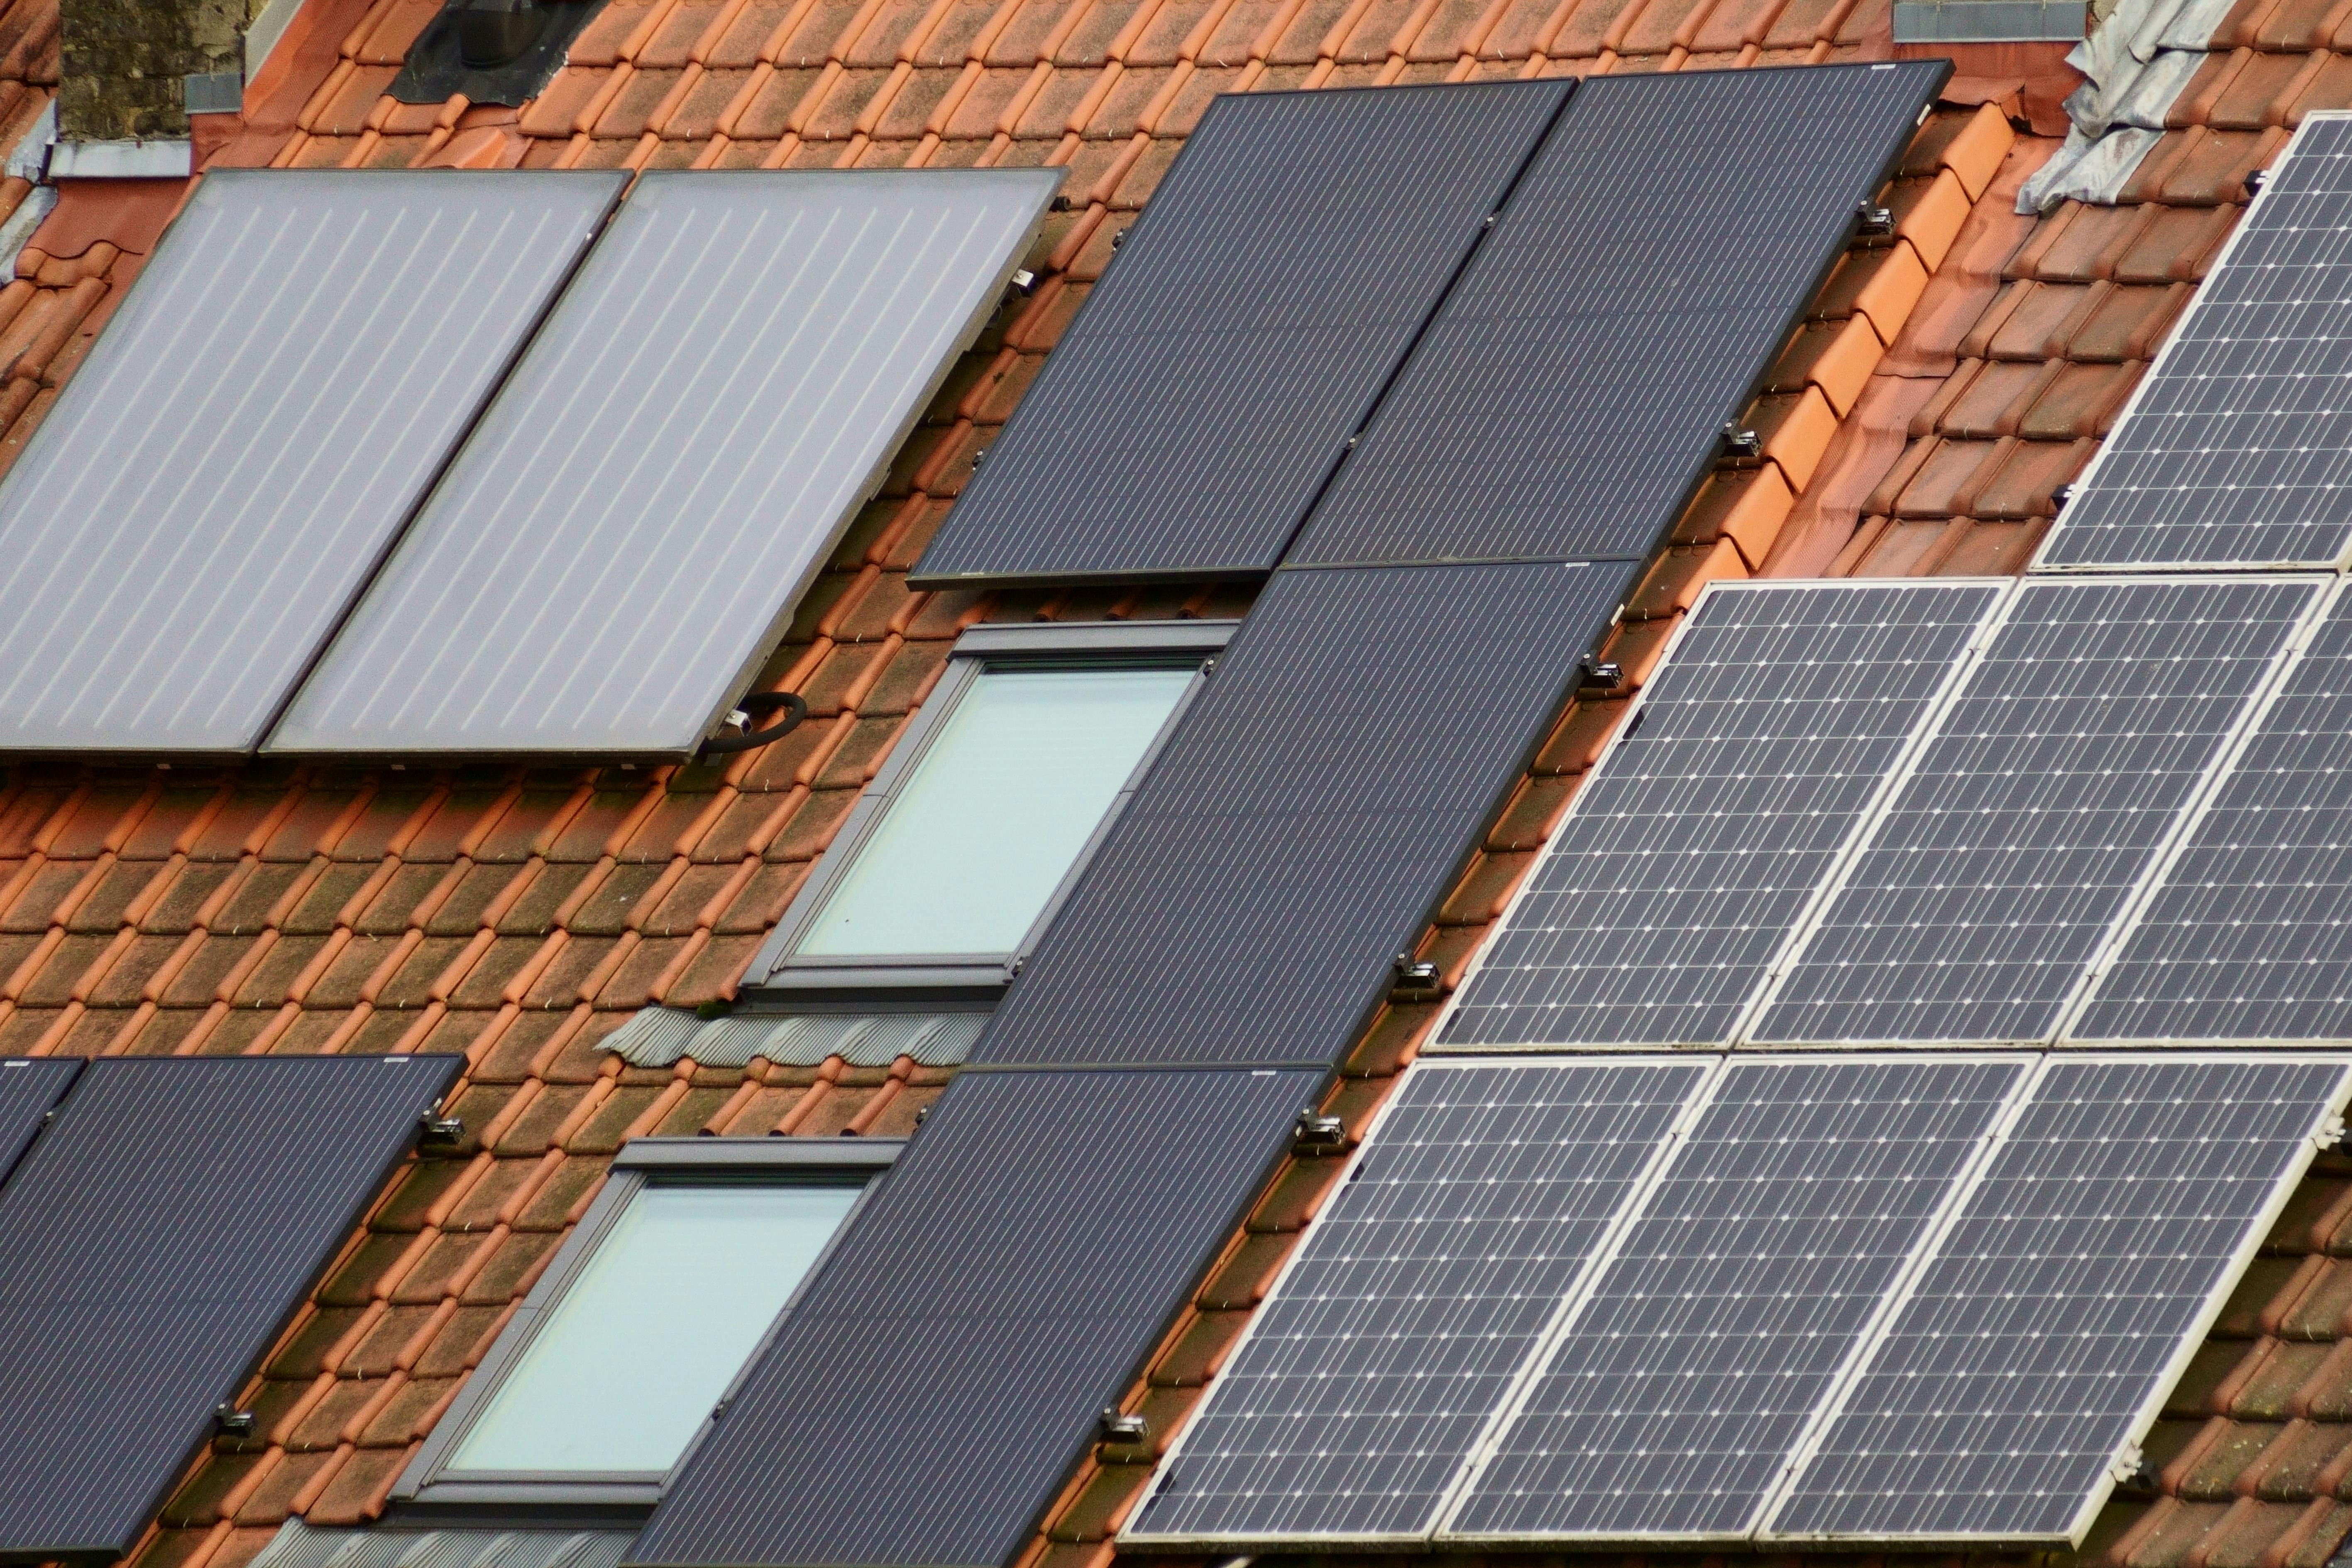
Solar Panel Types: Mono vs. Poly vs. Thin Film
Not all panels are created equal. The three main cell technologies each have distinct performance characteristics that matter for off-grid use.
| Characteristic | Monocrystalline | Polycrystalline | Thin Film (CIGS/CdTe) |
|---|---|---|---|
| Efficiency | 20-24% | 15-18% | 10-13% |
| Cost per watt (2026) | $0.25-0.40 | $0.20-0.30 | $0.30-0.50 |
| Temperature coefficient | -0.30 to -0.35%/C | -0.35 to -0.42%/C | -0.20 to -0.25%/C |
| Low-light performance | Good | Moderate | Best |
| Lifespan | 25-30 years | 25-30 years | 15-25 years |
| Space needed per kW | ~45 sq ft | ~55 sq ft | ~80 sq ft |
| Best for | Roof-mounted, limited space | Budget ground-mount | Curved surfaces, extreme heat |
For most off-grid cabin builds, monocrystalline panels are the correct choice. They pack the most power into the least roof area, they perform well in partial shade, and the price premium over polycrystalline has nearly vanished. Thin film only makes sense if you are dealing with extreme heat or unusual mounting surfaces.
ℹ️ Panel Degradation
All panels lose output over time. Expect 0.5-0.7% per year for mono/poly and up to 1% for thin film. A panel rated at 400W today will produce roughly 360W in year 25. Factor this into your sizing — it is one more reason to oversize your array by 15-20%.
Sizing Your Solar Array
The formula is straightforward, but the inputs need to be honest:
Array size (W) = Daily Wh / (Peak Sun Hours x System Efficiency)Peak Sun Hours (PSH) is not the number of daylight hours. It is the equivalent number of hours at 1,000 W/m2 irradiance. The NREL PVWatts tool provides this data for any location in the US. Some reference values:
| Region | Annual Avg PSH | Winter Avg PSH |
|---|---|---|
| Southwest US (AZ, NM) | 6.0-7.0 | 4.5-5.5 |
| Southeast US (GA, TN, NC) | 4.5-5.5 | 3.5-4.0 |
| Pacific NW (OR, WA) | 3.5-4.5 | 1.5-2.5 |
| Upper Midwest (MN, WI) | 4.0-5.0 | 2.0-3.0 |
| Northeast US (NY, VT, ME) | 3.5-4.5 | 2.0-3.0 |
System efficiency accounts for losses in wiring, charge controller conversion, battery charging/discharging, and inverter conversion. A realistic figure is 0.75-0.80 for a well-designed system.
⚠️ Warning
Size your array for winter, not summer. If your location gets 5.0 PSH annually but only 2.5 PSH in December, and you need year-round power, use the winter number. An array sized for summer averages will leave you short from November through February.
Example Calculation (Medium Cabin, Southeast US)
Using Scenario 2 numbers with winter PSH of 3.5 and 0.78 system efficiency:
Array size = 2,854 Wh / (3.5 x 0.78)
           = 2,854 / 2.73
           = 1,045W minimum
Rounding up and adding margin: a 1,200W array (e.g., 3x 400W monocrystalline panels) provides solid headroom.
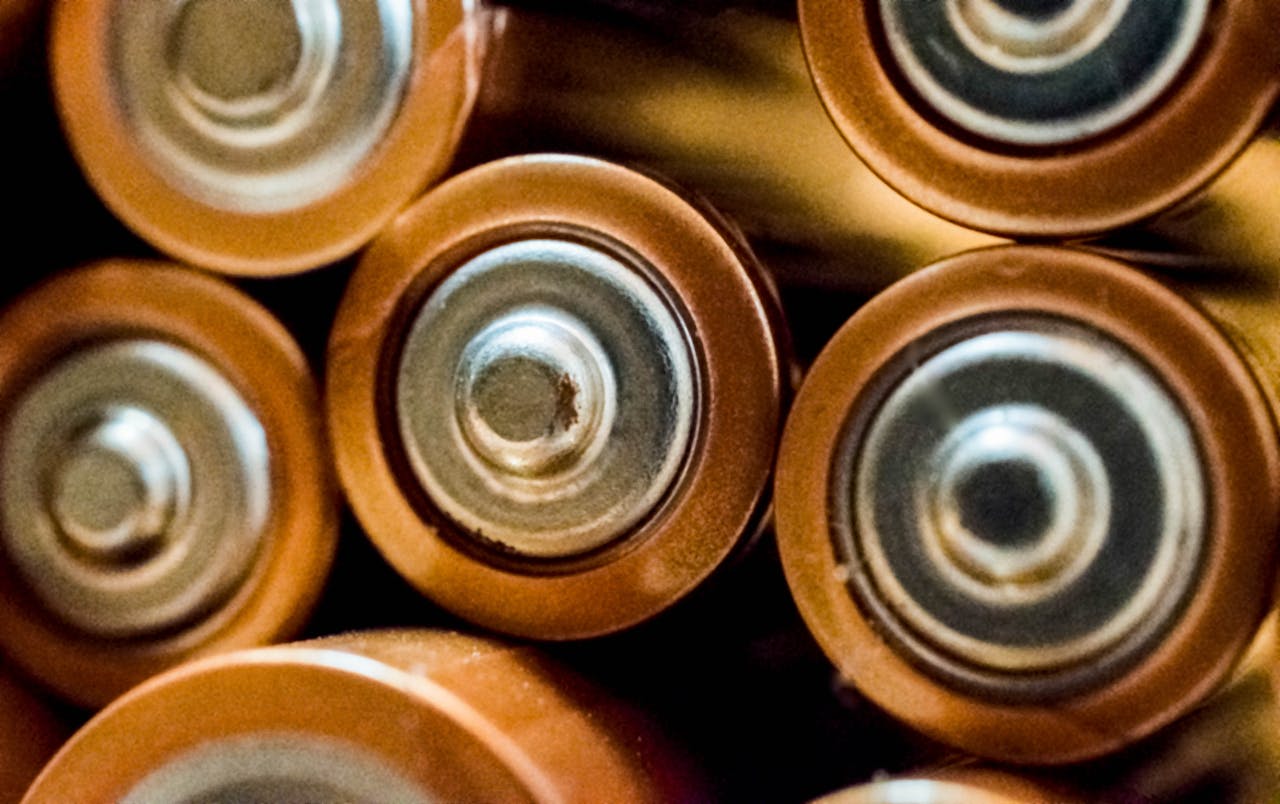
Battery Chemistry Comparison
The battery bank is typically the most expensive component and the one most likely to cause system failure if chosen poorly. Here is how the three common chemistries compare for off-grid use.
| Specification | LiFePO4 (Lithium Iron Phosphate) | AGM (Lead-Acid) | NMC Lithium-Ion |
|---|---|---|---|
| Usable depth of discharge | 80-90% | 50% | 80-85% |
| Cycle life (to 80% capacity) | 3,000-6,000 cycles | 500-800 cycles | 1,500-3,000 cycles |
| Round-trip efficiency | 95-98% | 80-85% | 92-96% |
| Cost per kWh (purchased) | $400-600 | $150-250 | $350-500 |
| Cost per kWh (lifetime) | $0.08-0.15 | $0.25-0.50 | $0.12-0.20 |
| Weight per kWh | ~13 lbs | ~55 lbs | ~15 lbs |
| Charge temp range | 0 to 45C (32-113F) | -20 to 50C (-4-122F) | 0 to 45C (32-113F) |
| Discharge temp range | -20 to 60C (-4-140F) | -20 to 50C (-4-122F) | -20 to 55C (-4-131F) |
| Self-discharge per month | 2-3% | 3-5% | 2-4% |
| Maintenance | None | Check electrolyte (flooded) | None |
| Thermal runaway risk | Very low | None | Moderate |
The LiFePO4 Case
LiFePO4 wins on nearly every metric except upfront cost and cold-weather charging. At $400-600/kWh, you are paying 2-3x the sticker price of AGM. But factor in that you can use 80-90% of the capacity (vs. 50% for AGM), the bank lasts 5-8x longer, and the round-trip efficiency is 15% higher, the lifetime cost per usable kWh is dramatically lower.
For a system that needs 5 kWh of usable storage:
- LiFePO4: 5.6 kWh nameplate (~$2,500-3,400) lasting 10-15 years
- AGM: 10 kWh nameplate (~$1,500-2,500) lasting 3-5 years, replaced 2-3x
Over 15 years, the AGM route costs $4,500-7,500. LiFePO4 pays for itself by year 5-6.
⚠️ Warning
LiFePO4 cells cannot be charged below 0C (32F) without permanent damage. If your battery bank is in an unheated space that drops below freezing, you need either battery heating pads (with a low-temperature cutoff in the BMS) or an insulated/heated battery enclosure. Most quality LiFePO4 batteries have a built-in low-temp charging cutoff, but verify this before purchasing.
Sizing the Battery Bank
The formula accounts for depth of discharge and days of autonomy (how many cloudy days you can ride through without solar input):
Battery capacity (Wh) = (Daily Wh x Days of Autonomy) / Usable DoDFor the medium cabin scenario with LiFePO4 and 2 days of autonomy:
Battery capacity = (2,854 x 2) / 0.85
                 = 5,708 / 0.85
                 = 6,715 Wh nameplate needed
Two 48V 100Ah server rack batteries (5.12 kWh each = 10.24 kWh total) would provide 2+ days of autonomy with margin. Alternatively, a single 48V 200Ah unit (10.24 kWh) achieves the same result in one enclosure.
💡 Pro Tip
For full-time off-grid living, 2 days of autonomy is the minimum. In the Pacific Northwest or northern climates, 3 days is safer. If you have a backup generator, you can reduce autonomy to 1 day and rely on the generator for extended cloudy stretches — this significantly reduces battery cost.
Charge Controller Selection: PWM vs. MPPT
The charge controller sits between your panels and batteries, regulating voltage and current to protect the batteries and maximize energy harvest.
| Feature | PWM | MPPT |
|---|---|---|
| Harvest efficiency | 75-80% | 92-99% |
| Cost | $20-80 | $100-600 |
| Panel voltage requirement | Must match battery voltage (e.g., 12V panel to 12V battery) | Can step down higher voltage (e.g., 60V panel to 48V battery) |
| Performance in cold weather | No change | Improved (panels produce higher voltage in cold) |
| Performance in low light | Drops off rapidly | Maintains better harvest |
| System size sweet spot | Under 200W | 200W and above |
| Panel string flexibility | Very limited | Series and parallel configurations |
Why MPPT Matters
An MPPT (Maximum Power Point Tracking) controller continuously adjusts its input to find the voltage-current combination where the panel produces peak power. On a cool, clear morning, a panel’s maximum power point voltage rises well above its nominal voltage. A PWM controller throws away this extra voltage. An MPPT controller converts it to additional charging current.
In real-world testing, MPPT controllers deliver 15-30% more energy than PWM from the same array, with the largest gains occurring in cold weather and during morning/evening hours. For any system over 400W, the extra cost of MPPT pays for itself within the first year by letting you buy fewer panels.
Sizing the Controller
Charge controllers are rated by amperage. To determine the required rating:
Controller amps = Array watts / Battery bank voltageFor a 1,200W array on a 48V battery bank:
Controller amps = 1,200 / 48 = 25AAdd a 25% safety margin: a 30-40A MPPT controller is the right fit. For 12V or 24V systems, the amperage is proportionally higher, so plan accordingly. Common reliable options in this range include the Victron SmartSolar 150/35, EPEver Tracer 40A, and Renogy Rover 40A MPPT.
📋 Example: String Configuration
Three 400W panels (Voc 49.8V, Isc 10.4A each) on a 48V system with a 150V-rated MPPT controller: wire two panels in series (99.6V Voc, within the 150V limit) and the third in parallel with one of them, or run all three in parallel at 49.8V Voc. Check your controller's max input voltage and current ratings against the panel specifications at the coldest expected temperature, since Voc increases in the cold.
Inverter Selection: Pure Sine vs. Modified Sine
The inverter converts DC battery power to AC household power. This choice affects which appliances you can run and how efficiently.
| Feature | Pure Sine Wave | Modified Sine Wave |
|---|---|---|
| Output waveform | Smooth, identical to grid power | Stepped approximation |
| Efficiency | 90-95% | 85-90% |
| Cost (3,000W) | $300-800 | $100-250 |
| Motor loads (pumps, compressors) | Runs cool and quiet | Motors run hot, buzz, may stall |
| Electronics (laptops, chargers) | Full compatibility | Some chargers overheat or fail |
| Medical equipment (CPAP, etc.) | Safe | Not recommended |
| Audio/video | Clean signal | Audible hum, interference bars |
| Inductive loads (transformers) | No issues | Can overheat transformers |
For off-grid living, a pure sine wave inverter is the only serious option. The price gap has shrunk enough that the risk of damaging sensitive electronics or burning out motor windings on a modified sine wave is not worth the savings.
Sizing the Inverter
Size your inverter for peak simultaneous load, not total daily consumption. Add up the wattage of everything that could run at the same time, then add 20% headroom for motor surge currents:
- Water pump starting surge: 3-5x running watts
- Washing machine spin cycle: 2-3x running watts
- Refrigerator compressor startup: 2-3x running watts
For the medium cabin scenario, a 3,000W pure sine wave inverter handles all normal loads with room for simultaneous startup surges. The homestead scenario calls for a 5,000W+ inverter or a split-phase 120/240V unit if running larger well pumps or power tools.
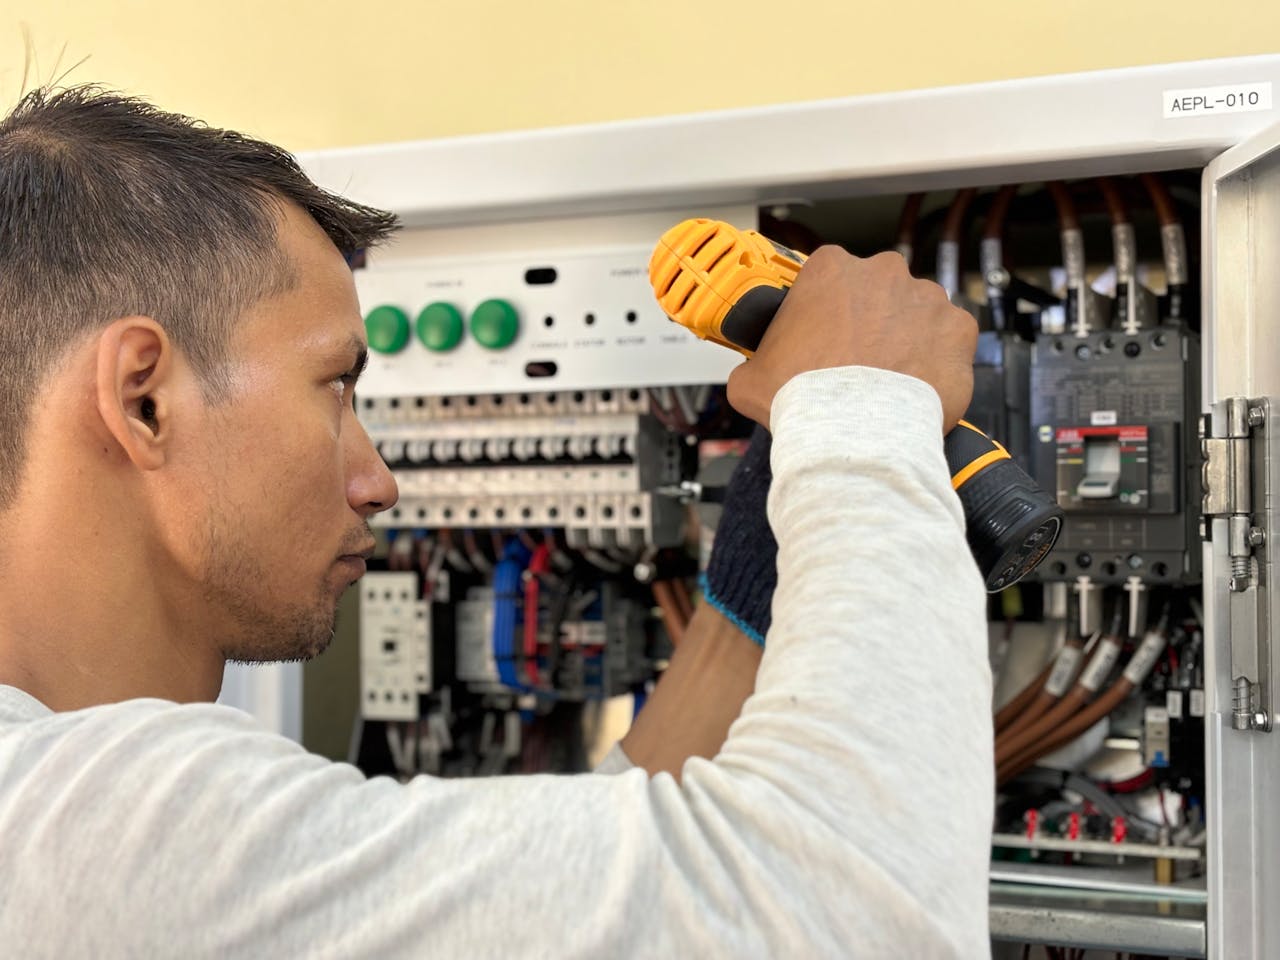
Wiring Safety and NEC Compliance
This is the part that keeps your system from catching fire. Solar installations carry real electrical risk — a 48V, 200Ah battery bank stores over 10 kWh of energy and can deliver thousands of amps into a short circuit.
Wire Sizing
Use the American Wire Gauge (AWG) table and keep voltage drop below 3% for any run:
| Current (A) | Run Length < 10 ft | Run Length 10-20 ft | Run Length 20-30 ft |
|---|---|---|---|
| 10-15A | 12 AWG | 10 AWG | 8 AWG |
| 15-25A | 10 AWG | 8 AWG | 6 AWG |
| 25-40A | 8 AWG | 6 AWG | 4 AWG |
| 40-60A | 6 AWG | 4 AWG | 2 AWG |
| 60-100A | 4 AWG | 2 AWG | 1/0 AWG |
⚠️ Warning
These are guidelines for copper conductors at 30C ambient. For higher ambient temperatures, conduit fill, or runs through insulation, derate per NEC Table 310.16. When in doubt, go one gauge larger. Undersized wire causes heat buildup, voltage drop, and fire risk.
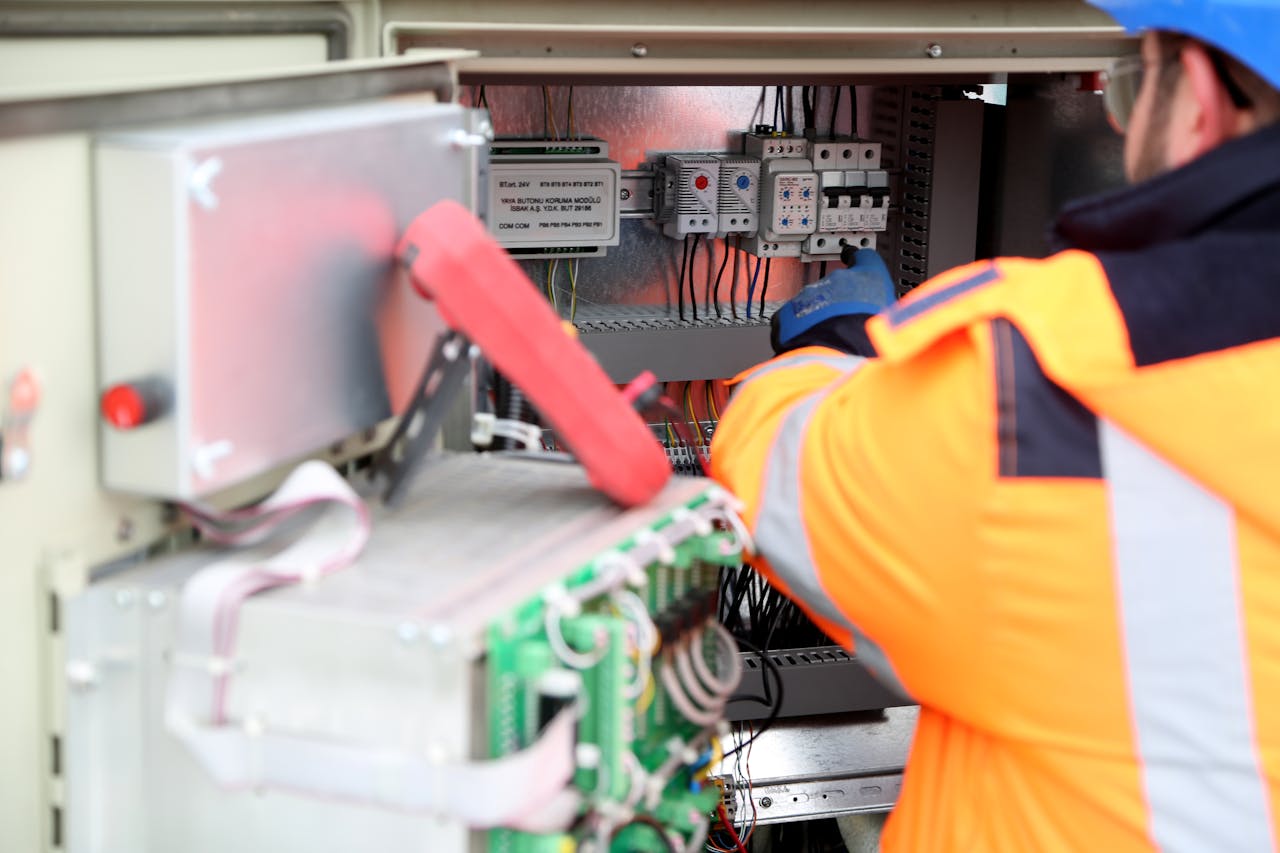
Required Safety Components per NEC Article 690
- DC disconnect switch between the array and charge controller, and between the battery bank and inverter. These must be rated for DC voltage (AC-rated switches cannot safely interrupt DC arcs).
- Overcurrent protection (fuses or breakers) on every conductor: panel strings, battery bank connections, and inverter input. Use Class T or ANL fuses for high-current DC battery circuits.
- Ground fault protection for the array. Many MPPT controllers include this, but verify.
- Equipment grounding of all panel frames, racking, and metal enclosures. Bond to a ground rod with 6 AWG or larger bare copper.
- Rapid shutdown compliance if roof-mounted (NEC 690.12). Required in most jurisdictions for systems installed after 2017. Module-level power electronics (MLPEs) or rapid shutdown boxes satisfy this requirement.
- Wire labeling and conduit for all exposed runs. PV wire (USE-2 or PV-rated) is required for outdoor panel wiring.
ℹ️ Permitting
Even off-grid, many counties require an electrical permit for solar installations. Check your local jurisdiction. If you plan to ever connect to the grid, sell the property, or get homeowner's insurance, a permitted and inspected system will save you enormous hassle. The NEC requirements above are not suggestions — they exist because DC electrical fires are fast and hard to extinguish.
System Monitoring
A system you cannot monitor is a system you cannot trust. At minimum, you need visibility into:
- Battery state of charge (SOC) and voltage
- Solar production (daily kWh and real-time watts)
- Load consumption (daily kWh)
- Battery temperature (critical for LiFePO4 in cold climates)
Most modern MPPT controllers (Victron, EPEver, Renogy) include Bluetooth or Wi-Fi monitoring apps. Victron’s ecosystem is the gold standard here: the Cerbo GX or similar provides a local dashboard, remote monitoring via VRM, and programmable relays for generator auto-start.
For a budget-friendly approach, a basic battery monitor like the Victron SmartShunt ($100) or a Bayite DC meter ($15-25) gives you voltage, current, and SOC. Pair it with your charge controller’s app and you have enough data to catch problems before they become failures.
Track your data over time. A slow decline in daily solar harvest can indicate panel soiling, shading from growing trees, or a failing panel. A battery that reaches 100% SOC slower each month may be losing capacity.
Common Mistakes to Avoid
1. Sizing for summer and suffering in winter. A system designed around 5.5 peak sun hours will produce less than half that in December at most US latitudes. Size for the worst month you need to cover.
2. Ignoring phantom loads. An inverter powering nothing still draws 15-50W around the clock. That is 360-1,200 Wh/day doing nothing. Use a DC-powered fridge, run LED lights on 12V/24V DC, and switch the inverter off when AC loads are not needed.
3. Cheaping out on the battery bank. Used batteries from EV conversions, no-name LiFePO4 cells without a proper BMS, Amazon mystery brands — these are how fires start and systems die at 18 months. Buy from reputable manufacturers (Battle Born, SOK, EG4, Victron) and verify the BMS specs.
4. Using automotive wire. Vehicle wire (GPT/GXL) is not rated for solar installations. Use PV wire, THWN-2, or USE-2 rated conductors as required by NEC 690. The insulation and temperature ratings are different.
5. No fusing on battery bank connections. A short circuit between battery terminals can deliver thousands of amps instantly. Without a Class T or ANL fuse within 6 inches of the positive terminal, the wire becomes the fuse — and it will glow red, melt insulation, and start a fire before any protection trips.
6. Putting panels in shade. Even partial shade on one cell of a series string can reduce the entire string’s output by 50% or more. In a series-wired array, the weakest panel sets the current for the entire string. If shade is unavoidable, use microinverters, DC optimizers, or parallel wiring.
7. Skipping the voltage drop calculation. A 30-foot run from a ground-mounted array to the battery bank at 12V and 30A needs 4 AWG wire to stay under 3% voltage drop. Many DIY builders use 10 AWG because it “seems big enough” and lose 10-15% of their solar production to wire heating.
Real-World Build: Medium Cabin System
Here is a complete bill of materials for the Scenario 2 medium cabin system (2,854 Wh/day, Southeast US location, full-time occupancy).
Component Selection
| Component | Specification | Cost |
|---|---|---|
| Solar panels | 3x 400W monocrystalline (e.g., Rich Solar, Renogy) | $450 |
| Mounting hardware | Ground-mount racking for 3 panels | $280 |
| Charge controller | Victron SmartSolar 150/35 MPPT | $300 |
| Battery bank | 2x SOK 48V 100Ah LiFePO4 server rack (10.24 kWh total) | $2,600 |
| Inverter | EG4 3000EHV 48V 3000W pure sine wave | $450 |
| Battery monitor | Victron SmartShunt 500A | $100 |
| DC disconnect | 2x 150A DC breaker with enclosure | $80 |
| Fuses and holders | Class T 125A fuse, ANL fuse holders, string fuses | $65 |
| Wire (battery to inverter) | 2/0 AWG, 6 ft run | $60 |
| Wire (panels to controller) | 10 AWG PV wire, 40 ft run | $55 |
| Wire (controller to battery) | 6 AWG, 4 ft run | $20 |
| Grounding | Ground rod, 6 AWG bare copper, lugs | $40 |
| Conduit and fittings | 3/4” and 1” EMT, connectors | $45 |
| Misc (connectors, terminals, breakers, bus bars) | $80 | |
| Total | $4,625 |
Expected Performance
On an average winter day in the Southeast (3.5 PSH), this system produces approximately:
1,200W x 3.5 PSH x 0.78 efficiency = 3,276 WhThat exceeds the 2,854 Wh daily requirement by 15% — enough margin for panel degradation and the occasional high-usage day. The 10.24 kWh battery bank provides 3.0 days of autonomy (at 85% usable DoD), which is comfortable for the region’s weather patterns.
On summer days (5.0+ PSH), the system produces 4,680+ Wh, meaning the batteries reach full charge by midday and excess capacity is available for discretionary loads like power tools, extra laundry, or batch cooking.
What This System Will Not Run
This system is not designed for resistive heating loads. A single 1,500W space heater would consume your entire daily solar budget in under 2.5 hours. Electric cooking (stovetop and oven), electric water heaters, and electric dryers are also off the table. For heating, use propane or wood. For cooking, propane or wood. For hot water, propane on-demand or a solar thermal collector.
ℹ️ Scaling Up
This system is modular. Adding a fourth 400W panel later costs $150 and requires no other changes — the charge controller and wiring can handle it. Adding a third battery ($1,300) doubles autonomy to 5+ days. Plan your initial wire gauge and breaker sizing to accommodate future expansion so you are not re-pulling wire in two years.
Key Takeaways
- Measure real loads before buying. A week of metering beats any spreadsheet estimate. Every off-grid solar failure starts with optimistic load calculations.
- Size for winter, not summer. Use your location's worst-month peak sun hours and add 15-20% headroom for degradation and weather variability.
- LiFePO4 is the right battery chemistry for most builds. The upfront cost is higher, but the lifetime cost per kWh is 2-3x lower than AGM, with no maintenance and far higher usable capacity.
- MPPT charge controllers pay for themselves. For any system over 400W, the 15-30% efficiency gain recovers the cost in under a year.
- Pure sine wave inverters are non-negotiable for running electronics, motors, and medical devices without damage or interference.
- Wire sizing and fusing are life-safety issues. Follow NEC 690, use DC-rated components, and fuse every conductor — especially the battery positive terminal.
- Plan for expansion. Oversize your wiring, conduit, and breaker panel from day one. Adding panels and batteries later is cheap; re-running wire is not.
- Monitor your system. A battery monitor and charge controller app give you the data to catch problems early and optimize your usage patterns over time.
Recommended Gear
Products we trust in this category. Affiliate links support the site at no extra cost to you.
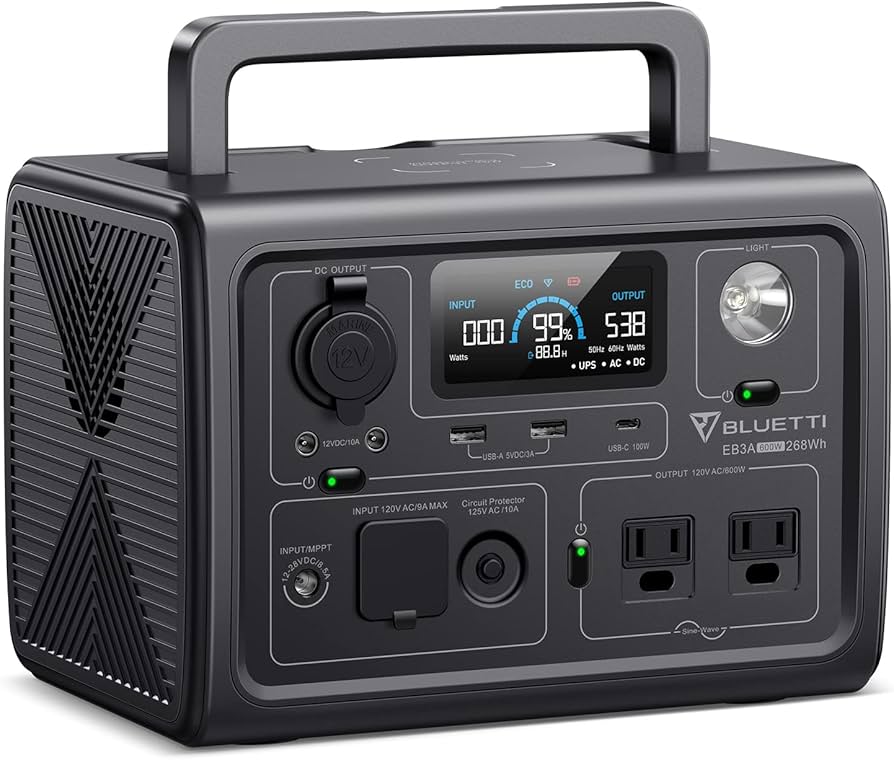
Bluetti EB3A Portable Power Station
268Wh LiFePO4 power station with fast AC + solar charging. Reliable for lights, laptops, and small tools.
View on AmazonAffiliate link